Table of Contents
Hit Box Setup
One of the key ingredients of any fighting game are hitboxes. Different than other action games, 2.5D fighting games rely on precision hits in a more “mechanical” way, as it emulates the sensation of playing a 2D game with the precision (and impact) of well adjusted invisible hitboxes.
There are many types of hitboxes, around, and thanks to the recent use of 3D technology to emulate 2D game play, hitboxes are commonly known for following body joints. Here are some examples:
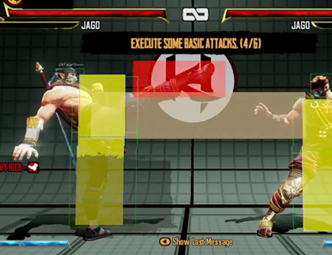
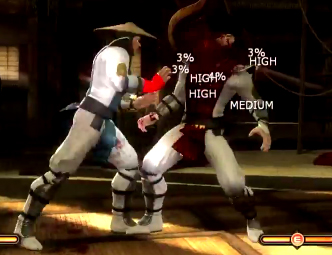
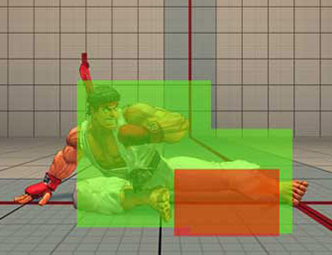
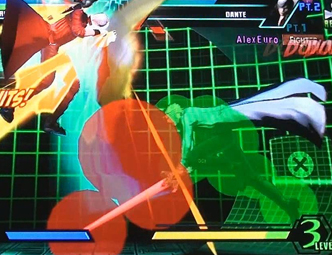
UFE uses a similar technology: if a hitbox and a hurtbox are overlapping then a hit is confirmed.
UFE uses circles and rectangles as hitboxes which gives you a wide variety of game play to work with. Circles and rectangles can be used simultaneously, UFE will detect hits between any combination of hitbox/hurtbox shapes.
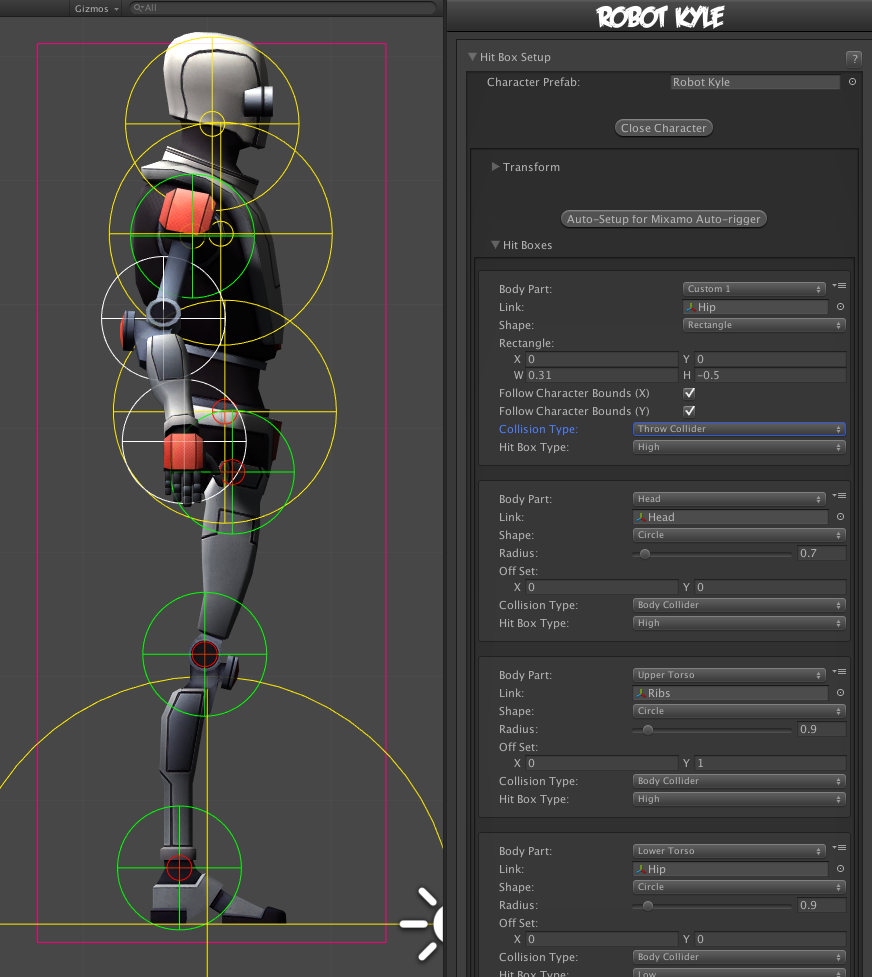
Make sure you first set your character model(s) under Character Prefabs before proceeding to the sections below.
Transform
Works similar to Unity's default Transform component. Adjust your character's rotation so it looks like its standing on the left side of the screen.
Notes:
- Avoid changing the character's position as it will save its “local position” and it might cause some visual bugs in the future.
- Even though you can use the standard t-pose as the default animation when importing your character, its recommended that you use the idle animation as your character's default pose/animation. It makes it easier to work with hitboxes, specially if you adjust the character rotation.
- Make sure you adjust the characters rotation as you would like to see them on screen. 2.5D Fighting games tend to have more “theatrical” pose, in a sense that their body language is constantly facing the camera (or “audience”), while their heads are facing the opponent.
- Don't worry about mirroring your animations. UFE will take care of that for you.
Hit Boxes
Tag your character's body parts to the hit boxes, set its shape, size, collision type and hitbox type.
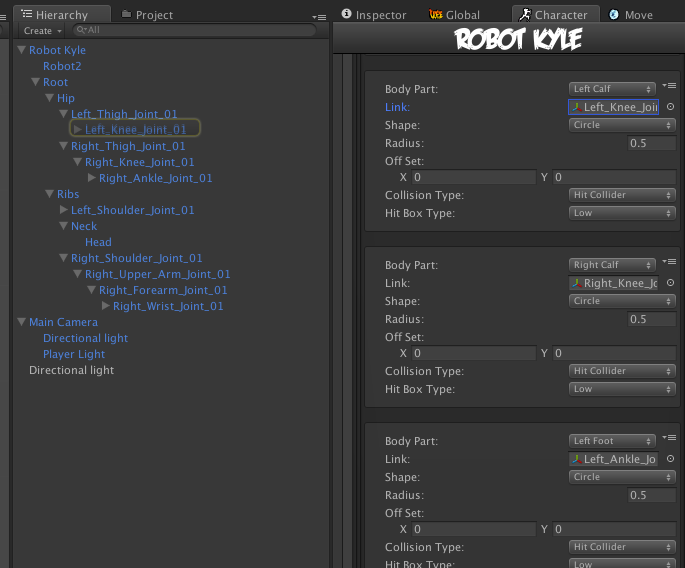
- Body Part: A tag representing the body part inside UFE.
- Link: The body part related to the character on screen. Navigate through the mesh and select the bone that best cover the selected body part.
- Shape: Circle or Rectangle shape hitbox.
- (Circle) Radius: How big the hitbox is. Its recommended that yellow hitboxes cover as much ground as possible to avoid unexpected cross-overs during battle.
- (Circle) Off Set: Off set the hit boxes around the character body if needed. Be careful with high values, as different animations can cause unexpected positioning.
- (Rect) Rectangle: X and Y make up the bottom left corner; W and H is the size calculated as distance from X and Y respectively.
- (Rect) Follow Bounds (X/Y): Toggle this if the rectangle shape is to follow the bounds of the character. Note that this uses Unity's Renderer Bounds. Adjust W and H to suit.
- Collision Type:
- Body Collider (yellow hitboxes): Movement and hit collision. Opposing yellow hitboxes cannot overlap.
- Hit Collider (green hitboxes): Hit collision only. Opposing green hitboxes can overlap.
- No Collider (white hitboxes): No collision. Use these for body parts that are not considered hitboxes but can be a hurtbox if needed.
- Throw Collider (red hitboxes): Used to detect attacks that have hittype of Throw. If the character doesn't have a Throw Collider hitbox, then throws will not work against them. See also: Throw Creation Guide
- Hit Box Type:
- High: If a non-knockdown attack hits this hitbox,
Get Hit Highanimation group is triggered. - Low: If a non-knockdown attack hits this hitbox,
Get Hit Lowanimation group is triggered.
- Default Visibility: Set the default visibility for certain Game Objects under your character hierarchy. This option is useful for hiding or showing certain objects during gameplay (like weapons). This option only works for objects detached from the main Mesh. You can then toggle the visibility by using Move Editor -> Body Parts Visibility Toggle.
Note:
- Each bodypart should be unique. If any bodypart doubles up, it can cause strange behaviour with hit detection. Use Custom 1-9 if you run out of defined ones.
- If you rigged your model using Mixamo Auto-Rigger you can click on Auto-Setup for Mixamo Auto-rigger to automatically set the hit boxes of your character.
- After the last step if you can't see the hitbox in scene view, click on Gizmos (top right corner of scene view) and toggle “HitBoxesScript”.
Related Video Tutorials
Code example:
void OnHit(HitBox strokeHitBox, MoveInfo move, CharacterInfo hitter){
	if (strokeHitBox.type == HitBoxType.low) Debug.Log ("low hit!");
}